Getting an accurate reading
Checking the oil in level in your engine is one of the easiest things you can do, to ensure long engine life.
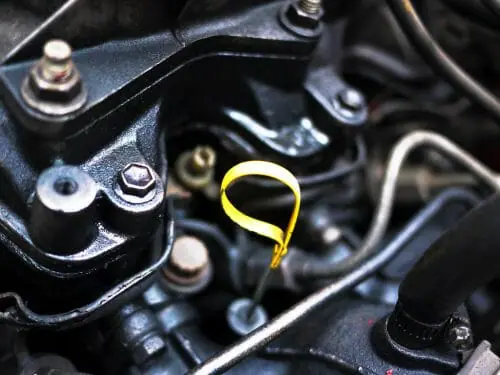
When you are checking your oil, you use a long flexible metal strip, called a dipstick. When you remove this the dipstick oil will be on the end of it. The amount of oil on the dipstick will tell you if your vehicles oil is at the proper level. In order to get an accurate reading there are a few things that need to be done:
- Do not check your engine oil when your engine is running.
- Ensure your vehicle is level. Having your vehicle at steep angle such a drive that’s inclined or a hill will change your reading an could result in under or over filling your engine.
- Be cautious if your vehicle was recently running. The engine and oil will be hot.
Lets check the oil
The basics to checking the engine oil level are pretty straightforward.
- Remove the dipstick, by pulling it.
- Using a rag or paper towel, wiper off any oil on the end of the dipstick
- Re-insert the dip stick, fully, and remove it again.
- Look to see where the oil is on the dipstick.
Dip stick examples
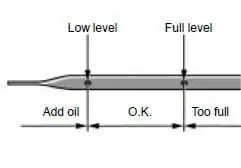
Every dipstick works on the same principle, however, they may look a little different. The goal is to keep the oil at the full level (or safe level, on some dipsticks). At the same time, you do not want to overfill the engine either, so its important to not go past the ?full? level indicator.

This dipstick uses two dots to represent the oil level. The upper dot is the maximum fill mark and the lower dot is minimum fill mark. This engine would be low on motor oil and require more.

This style uses a “F” for full and an “L” for low. This engine, has the proper amount of oil.

This style has a simple line indicating the maximum amount of oil. The other end reads “add oil”. This dipstick would appear to indicate the engine is oil is overfilled.

Owners manuals will have a page about oil and how to check it. Here is an example from Toyota